WebRTC consists of multiple APIs that perform different functions to establish a media session. We’re reviewing WebRTC APIs in this blog series, and we’re starting with getUserMedia, which allows a browser to interact with the media devices (microphone and camera).
When getUserMedia is called, it prompts the user permissions to access media devices. This prompt is only available under secure contexts. Examples of secure contexts are localhost and sites served under HTTPS.
Calling the getUserMedia API
Initially, getUserMedia was available at navigator.getUserMedia. While this is still true on some browsers, it’s not recommended. This is because it’s marked as deprecated. Instead, the preferred option is navigator.mediaDevices.getUserMedia.
The basic syntax for getUserMedia is:
navigator.mediaDevices.getUserMedia(constraints)By default, this returns a promise, which resolves to a media stream. This promise can be used raw or with async/await.
//getUserMedia using raw promises
navigator.mediaDevices.getUserMedia({video: true, audio: true})
    .then(stream => … )
    .catch(err => … )

//getUserMedia using async/await
async function getMedia() {
  let stream = null

  try {
    stream = navigator.mediaDevices.getUserMedia({video: true, audio: true})
    …
  } catch(err) {

    …
  }
}
It receives a constraints parameter, which indicates the media properties required by the API. This parameter is an object of two members: video and audio. In its simplest form, their values can be a boolean that enables the use of a device, so { video: true, audio: false } means that getUserMedia will try to get a video track but not an audio one.
Playing with constraints in the getUserMedia API
Besides boolean values, constraints also allow an object. This allows you to customize the properties of the resulting tracks. Available customizations include volume and latency values for audio tracks and video size or front or back camera selection (if available).
navigator.mediaDevices.getUserMedia(
  {
    video: {
      height: 480,
      width: 640,
      facingMode: "user"
    },
    audio: true
  }
)
An example using the getUserMedia API
Now let’s get our hands dirty and create a working example of customizing the video track. Clone the repo and install dependencies.
clone https://github.com/agilityfeat/webrtc-apis-indepth
cd webrtc-apis-indepth
npm install
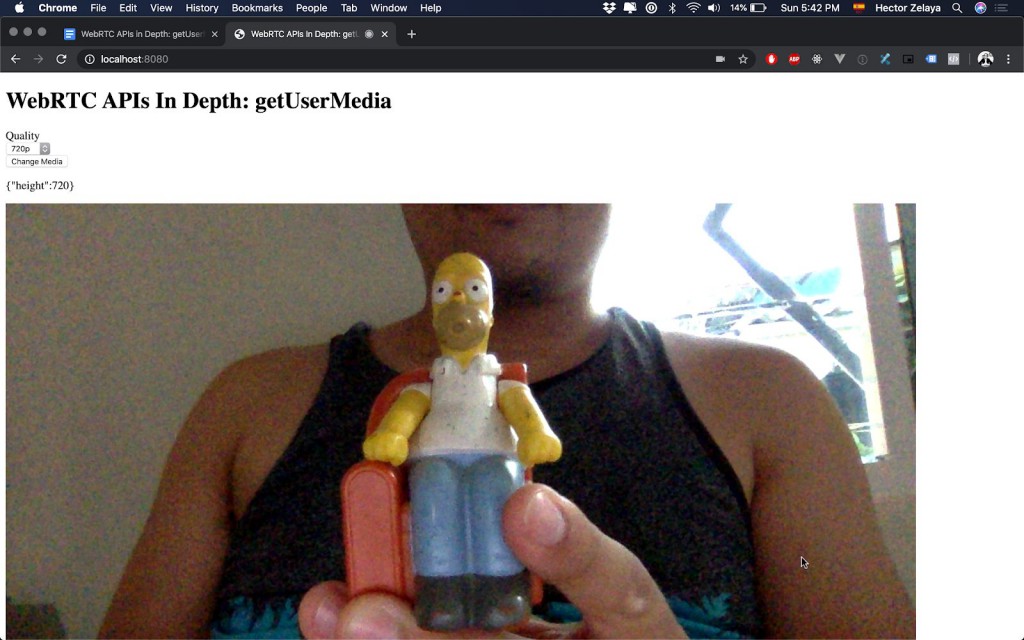
npm run gumOpen your browser and go to http://localhost:8080. Select the desired quality of the video and click on “Get Media.”
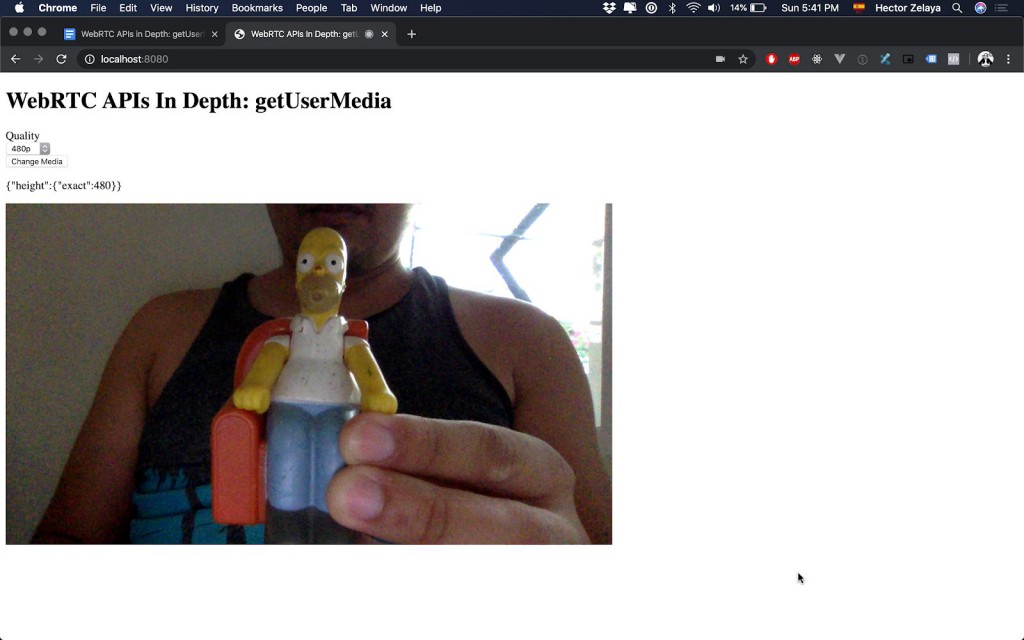
Now, select a different quality and click on “Change Media.”
Let’s take a look at what’s going on under the hood. The “Get Media” button triggers an event that calls getUserMedia and assigns the resulting media stream to the video element. Then, the applied constraints of the video track are shown.
async function obtainMedia() {
  changeMedia.style.display = "block";
  getMedia.style.display = "none";
  stream = await navigator.mediaDevices.getUserMedia({
    video: {
      height: { exact: parseInt(quality.value) }
    }
  });
  localVideo.srcObject = stream;
  settings.innerText = JSON.stringify(
    stream.getVideoTracks()[0].getConstraints()
  );
}

getMedia.addEventListener("click", obtainMedia);
getMedia.addEventListener("touchstart", obtainMedia);
When the “Change Media” button is pressed, the size of the video is updated by calling applyConstraints().
async function changeMediaProperties() {
  const videoTrack = stream.getVideoTracks()[0];
  const constraints = videoTrack.getConstraints();
  constraints.height = parseInt(quality.value);
  await videoTrack.applyConstraints(constraints);
  settings.innerText = JSON.stringify(
    stream.getVideoTracks()[0].getConstraints()
  );
}

changeMedia.addEventListener("click", changeMediaProperties);
changeMedia.addEventListener("touchstart", changeMediaProperties);
Conclusion
The getUserMedia API allows browsers to interact with media devices on a computer. It provides enough flexibility for advanced use cases and has an intuitive and easy-to-use interface.
Stay tuned for more posts in our WebRTC APIs blog post series!